Score Card 4.0.1 Released
- Date
Score Card 4.0 brings a whole new set of features to the app. Not only should the app be a great utility, but also should be more fun.
Target scores! Setting a target score provides a nice celebration for the winner of a game.
Tally mode! A new way to capture scores by simply adding or subtracting points from a player.
Saved settings! Settings from past games can be used when creating new score cards.
Check out the app on the App Store.
A bug was found where if a statement was reused and one of the bindings went from a non-nil value to a nil value, the binding would not update. For example:
try restructure.execute(query: "CREATE TABLE foo (name TEXT NULL)")
let statement = try restructure.prepare(query: "INSERT INTO foo (name) VALUES (:name)")
let encoder = StatementEncoder()

struct Foo {
    name: String?
}

statement.reset()
try enconder.encode(Foo(name: "Bar"), to: statement)
statement.step()

statement.reset()
try enconder.encode(Foo(name: nil), to: statement)
statement.step()
In this case, both records would have a name of “Bar”.
This bug comes from the use of KeyedEncodingContainerProtocol. I assumed that implementing encodeNil would be enough
for handling nil values, but the code needs to also implement the encodeIfPresent methods.
Also, along with being on Github, I’ve also added Restructure to the Swift Package Index.
Day 25 of Advent of Code had us determine clusters of wires and the best way to partition them. For most people, the solution revolved around using graphviz. While most of the problem can be done via the command line, I chose to write a macOS app that used graphviz and PDFKit to allow the “human intelligence” to determine the proper cutting points.
For the command line portion of the code, it can be broken down in to generating a graph diagram, clustering the diagram, and then rendering the diagram.
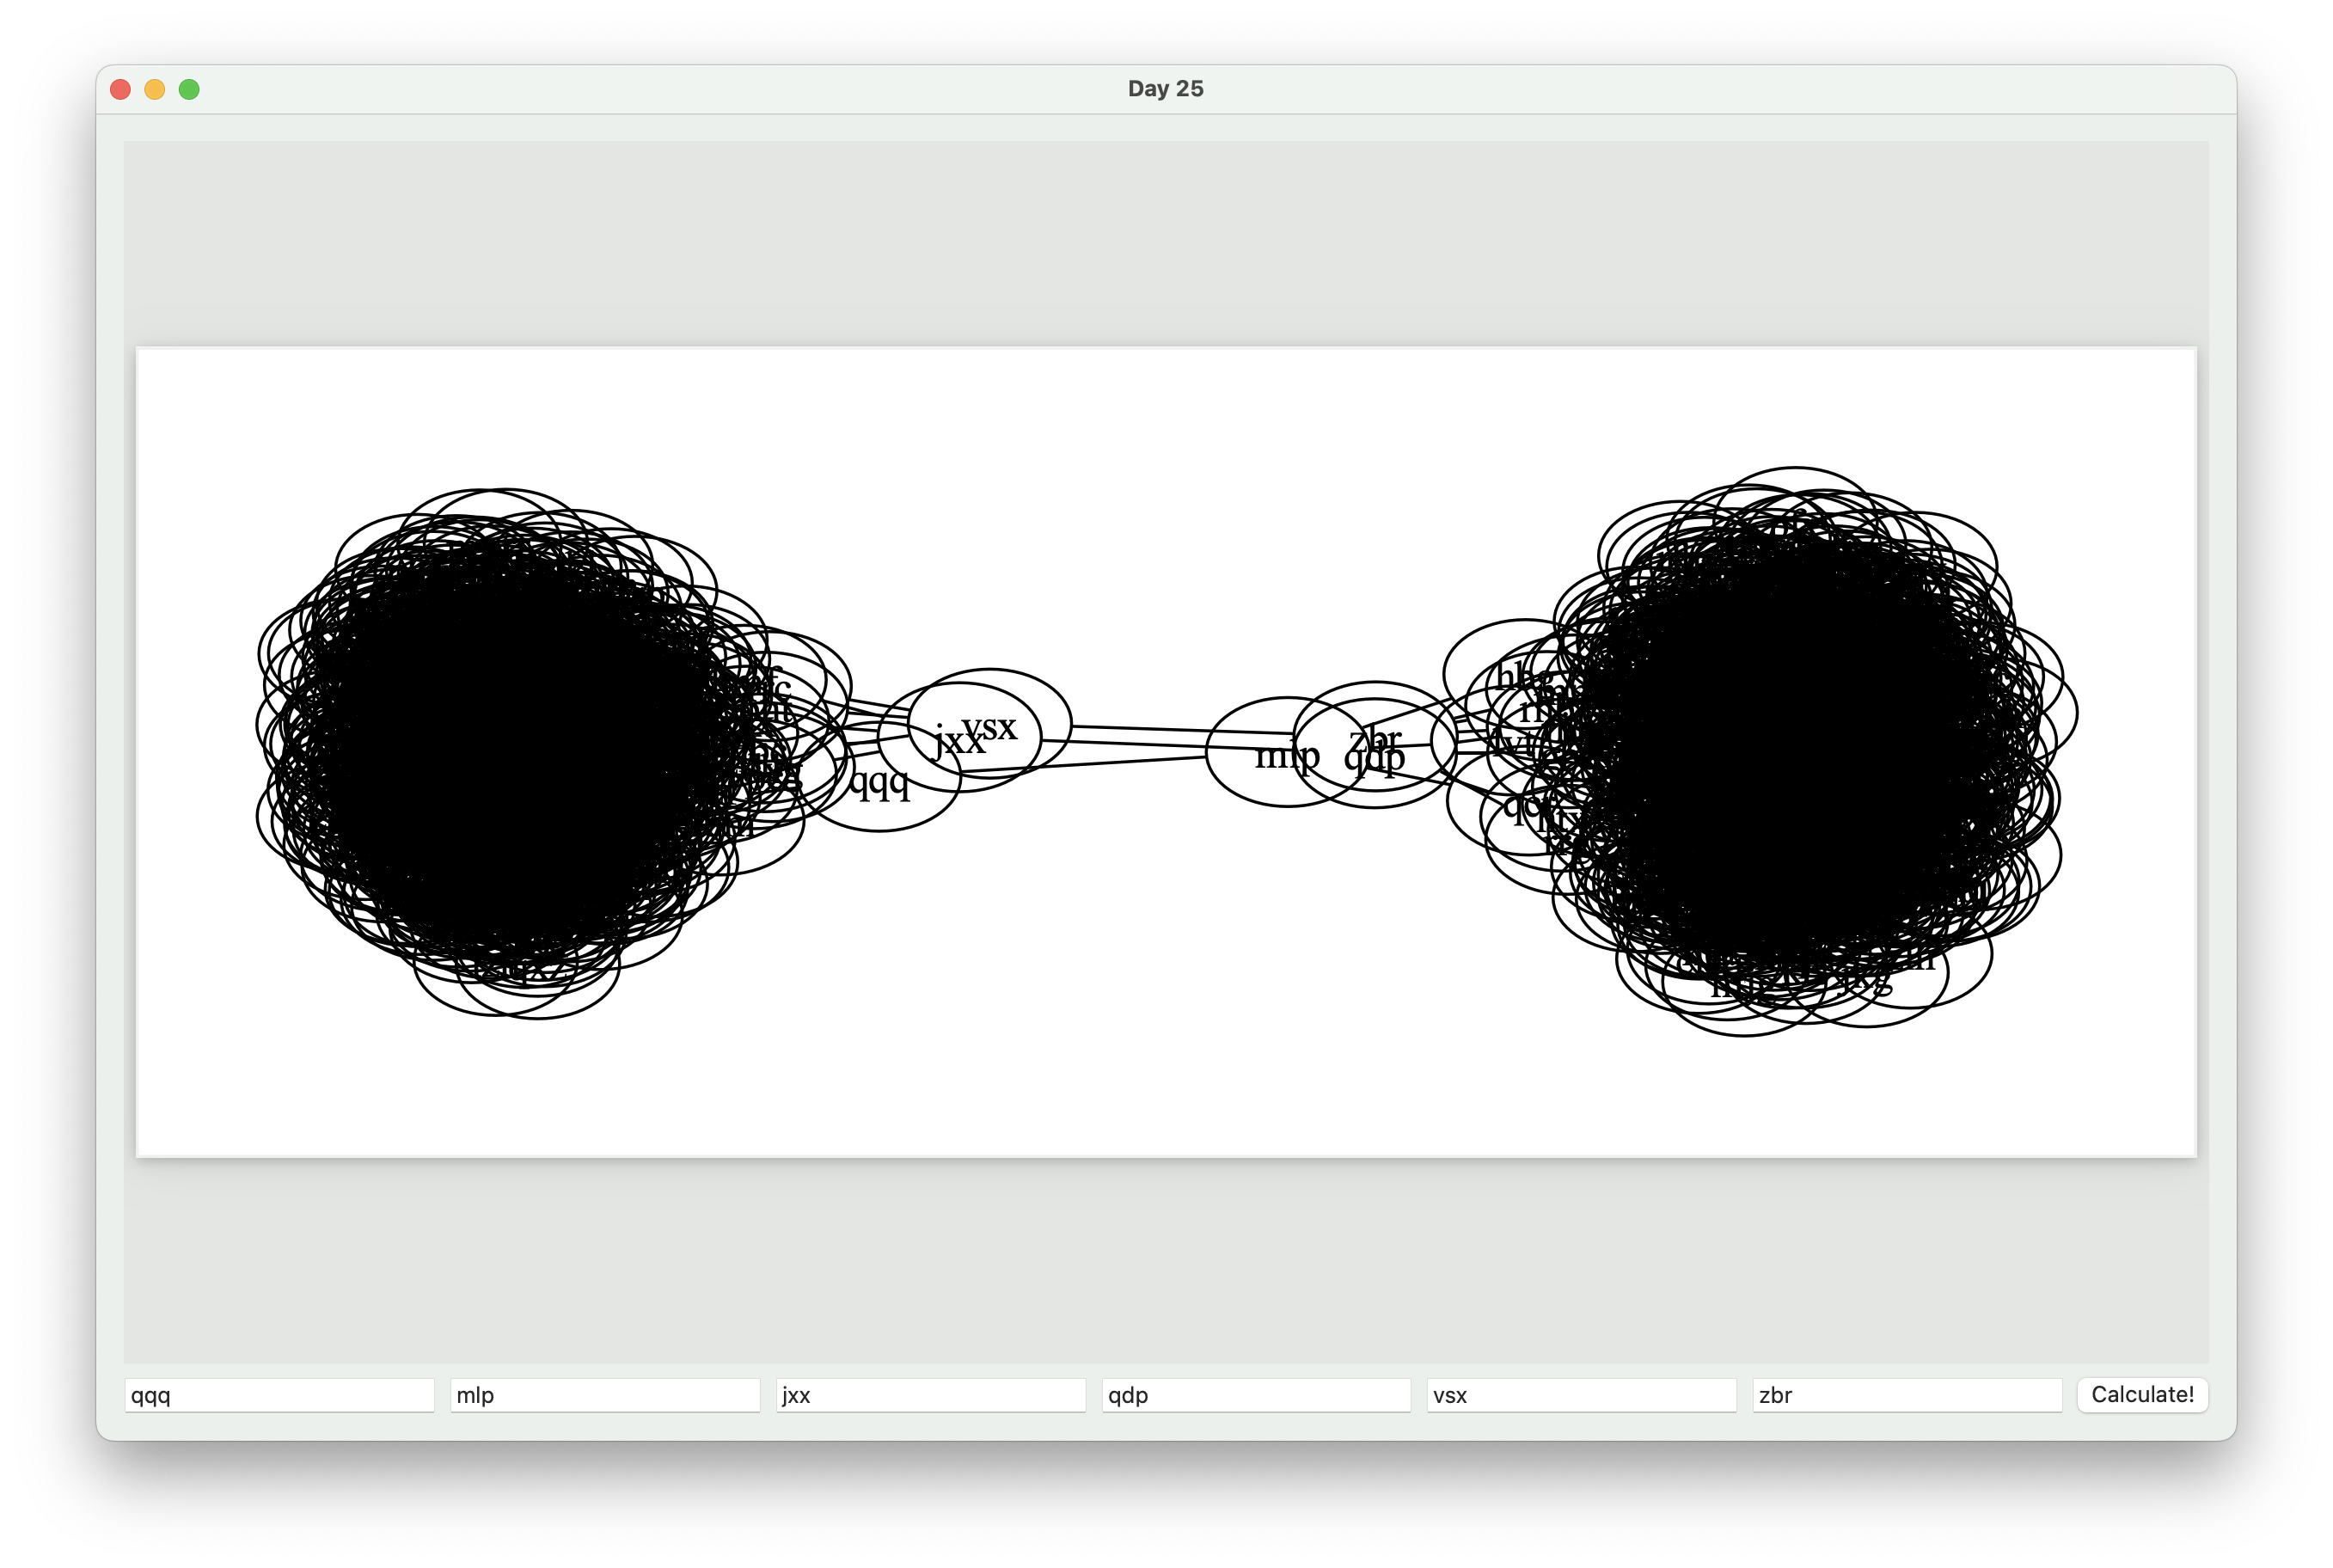
The graph diagram looks similar to:
graph G {
  vmq -- { rcq qvj bpj }
  fgc -- { gph }
  cgg -- { jnf fmh pbf tmm qml }
  ghp -- { pvl }
  fbh -- { zcx }
  xmk -- { vvb fgk prt dkd qcc hqj }
  jkl -- { zvz }
  zsx -- { msc jpr qmq }
  cdf -- { qlc mtk bnq }
  knq -- { qpb }
  ...
}
The command lines to generate the PDF are:
cluster -C2 -o clustered.dot input.dot
dot -Tpdf -Ksfdp clustered.dot -o Day25.pdf
I used a standard Xcode template for SwiftUI to create the interface. To execute the command line tools, you use a
Process object to execute the command and wait. There is a hidden issue with the example code you see around the
internet. By default, an application is sandboxed, so while it can execute some system commands, like ls, without
issue, it cannot execute arbitrary binaries on your system. There are workarounds, like using sh -c or env to
execute the code, but either these do not properly support command line arguments, or they are also sandbox aware and
can’t properly execute your commands.
The easiest solution, which works for Advent of Code as it isn’t really a “production” app, is to just disable sandboxing in the Entitlements file. The other solution would be to statically compile graphviz and its dependencies. This is more work than I wanted to do in a small time, so I went with the former solution.
The other part that gets missed from using Process is that you should wait for the program to finish executing. This
can be handled in the terminationHandler of the run method, and it can be easily wrapped for async / await as
well.
private func generateGraph(from inputURL: URL) async throws -> URL {
    let processURL = URL(fileURLWithPath: "/opt/homebrew/Cellar/graphviz/9.0.0/bin/dot")
    let outputURL = URL(fileURLWithPath: NSTemporaryDirectory(), isDirectory: true)
        .appending(path: "Day25.pdf")

    let arguments = [
        "-Tpdf",
        "-Ksfdp",
        inputURL.path(percentEncoded: false),
        "-o",
        outputURL.path(percentEncoded: false)
    ]

    try await withCheckedThrowingContinuation { continuation in
        do {
            try Process.run(processURL, arguments: arguments) { process in
                continuation.resume()
            }
        } catch {
            continuation.resume(throwing: error)
        }
    }

    return outputURL
}
Day 22 of Advent of Code had us drop blocks from an initial position to a compact stack. The blocks are simulated to use 1 meter cubes, so I used equations for a falling body to simulate the actual pull of gravity to make the falling realistic. This looked great for the sample, which completed quickly. For the actual solution, the problem is so big that the video is 1 hour, 20 minutes long and eventually cannot show the bricks falling as they are outside of the viewport.